To create images with AI, describe what you want in a text prompt and run it in an image generator. The trick is the prompt. A one-line request gets you a generic picture. A detailed prompt (subject, setting, style, lighting, camera, format) gets you something you can actually use. The fastest way to get that detail is to have a chat AI write the prompt for you, then paste it into the image tool.
That's the whole method. The rest of this article is how to do it well, with real prompts for seven kinds of images, so you can see it work for a product shot, a portrait, a logo, an illustration and more.
Why "just ask for an image" gives you boring results
Type "a coffee shop" into any image tool and you'll get a coffee shop. Clean, centered, vaguely stock-photo. It's fine. It's also the same coffee shop everyone else got.
The model had to guess everything you didn't say: morning or night, cozy or sleek, wide shot or close-up, photo or painting. Every guess lands on the safe average. Image models are very good at following detail and very bad at reading your mind.
So the skill isn't "knowing the magic words." It's knowing which decisions to make for the model. There are six.
The six decisions inside every good image prompt
Think of a prompt as a brief you'd hand a photographer or illustrator. A good brief answers these:
- Subject. Who or what is the image about? Be concrete. "A woman" is weak. "A woman in her 60s with silver hair, laughing, holding a chipped blue mug" is a picture.
- Setting. Where and when? A kitchen at 7 a.m., a rain-soaked street at night, a white studio backdrop.
- Style or medium. Photograph, watercolor, 3D render, flat vector, pencil sketch, anime, oil painting. Pick one. Mixing five usually muddies the result.
- Lighting and mood. Golden hour, soft window light, harsh flash, neon glow, overcast. Lighting does more for realism than any other single word.
- Camera and composition. Close-up, wide shot, overhead flat lay, 85mm portrait lens, shallow depth of field, rule of thirds. For illustrations, this becomes "centered icon" or "full-page scene."
- Format and constraints. Aspect ratio (square, 16:9, 9:16), empty space for text, no watermark, what to leave out.
Most beginners cover decision one and maybe three. Cover all six and you're ahead of nearly everyone.
The two-step method: let an AI write the prompt, then run it
Here's the part most guides skip. You don't have to write the six decisions yourself. You can hand your rough idea to a chat AI (Claude, ChatGPT, Gemini, whichever you already use) and ask it to turn the idea into a detailed prompt. Then you paste that prompt into the image tool.
Why this works better than writing it solo:
- The chat AI knows the vocabulary: lens types, lighting setups, art movements. You don't have to.
- It asks you the questions you forgot to answer.
- You get a prompt you can tweak one line at a time, instead of starting over.
The meta-prompt. Copy this and replace the bracket:
I want to generate an image with an AI image generator.
My rough idea: [describe your idea in one or two sentences].

Before writing the prompt, ask me up to 5 short questions about anything
important I haven't specified (purpose, style, mood, format, where it will be used).

Then write one detailed image prompt covering: subject, setting, style/medium,
lighting and mood, camera angle and composition, aspect ratio, and a short
"avoid" list. Write it as one flowing paragraph I can paste directly into an
image generator. Don't use jargon the generator won't understand.
That's the entire engine. Everything below is this same move applied to different jobs.
Step-by-step: from idea to finished image
Step 1. Decide what the image is for
Before any tool opens, answer one question: where will this image live? A blog header needs wide space and room for a headline. An Instagram post wants square or 4:5. A phone wallpaper is tall. A logo needs a plain background.
This sounds obvious. It's also the step people skip, then wonder why the image won't crop.
What goes wrong: you generate a beautiful square image, then need 16:9. You crop it and lose the subject's head. Decide the format first.
Step 2. Write your rough idea in plain words
Don't try to sound technical. Write like you're texting a friend.
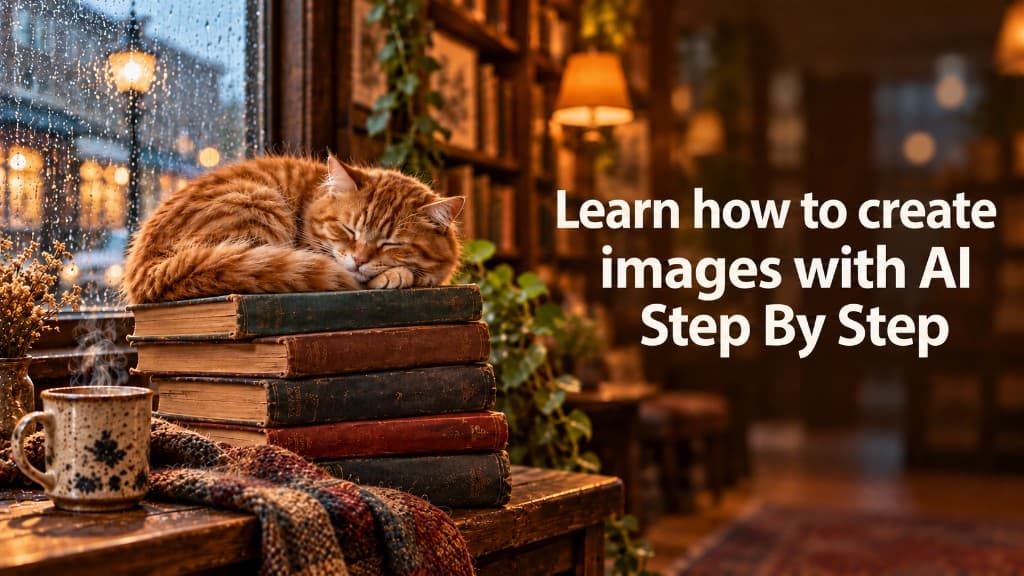
"A cozy bookstore cat sleeping on a stack of books near a rainy window. For a blog header."
Done. That's all the input the method needs.
Step 3. Ask a chat AI to expand it into a detailed prompt
Paste the meta-prompt from above with your idea filled in. The AI will probably ask a few questions: realistic photo or illustration? Warm or moody? Any text in the image?
Answer briefly. Then it writes something like this:
A fluffy orange tabby cat curled asleep on a leaning stack of old hardcover books inside a cozy independent bookstore, rain streaking down a large window behind it, warm lamplight mixing with cool gray daylight, shelves of books softly blurred in the background, steam rising from a ceramic mug on a nearby wooden table. Photorealistic, shot with a 50mm lens at eye level with the cat, shallow depth of field, warm film-like color grading, gentle mood. 16:9 landscape composition with empty space on the right for a headline. Avoid: text, logos, watermarks, distorted paws, extra limbs.
Read that against the six decisions. Subject, setting, style, lighting, camera, format, all there. You didn't write any of it.
Step 4. Run the prompt in an image generator
Paste it in. Which tool? It depends on the job, and the field changes fast, so treat this as a starting map and check each tool's current features before paying for anything:
| Tool | Good for | How you use it |
|---|---|---|
| ChatGPT (image generation) | Following long prompts closely, text inside images, editing by conversation | Describe, then say "make the cat bigger" or "change to night" in the same chat |
| Google Gemini | Quick generations and conversational edits, especially if you live in Google's apps | Same chat-based flow |
| Midjourney | Stylized, artistic, polished looks | Prompt-based, with parameters like aspect ratio |
| Adobe Firefly | Commercial-safe workflows, integration with Photoshop and Express | Prompt plus style and composition controls |
| Ideogram | Posters, logos and anything with readable text | Prompt-based, strong at typography |
| Canva (AI image tools) | Making an image and dropping it into a design in the same place | Prompt inside the design editor |
| Stable Diffusion / Flux (open models) | Full control, running locally, custom styles | More setup, more knobs |
If you're brand new, start with whichever chat assistant you already pay for or use free. Learning the prompt matters more than learning the tool, and a good prompt travels between tools with small edits.
What goes wrong: some tools prefer short, comma-separated phrases while others handle full sentences. If a flowing paragraph gives mushy results, ask your chat AI: "Rewrite this as a comma-separated prompt for Midjourney."
Step 5. Judge the result, then change one thing
Look at the first image and ask three questions. Is the subject right? Is the style right? Is anything weird (hands, text, extra objects)?
Now fix the biggest problem only. Change one variable per attempt. If you rewrite the whole prompt each time you'll never learn what caused what.
Use the chat AI here too:
Here's the prompt I used: [paste prompt].
The result had these problems: [e.g. lighting too flat, cat looks cartoonish,
bookshelf in background is messy].
Rewrite the prompt to fix only those problems and keep everything else the same.
Two or three rounds usually gets you there. Ten rounds means the original brief was missing a decision, so go back to the six and find which one.
Step 6. Edit, upscale and save
Most tools now let you edit part of an image (change a background, remove an object, extend the canvas) and upscale the final version. Do the big changes through prompting and the small ones through editing. Save the final prompt in a notes file. A prompt that worked is an asset you can reuse by swapping the subject.
Seven prompts you can copy and adapt
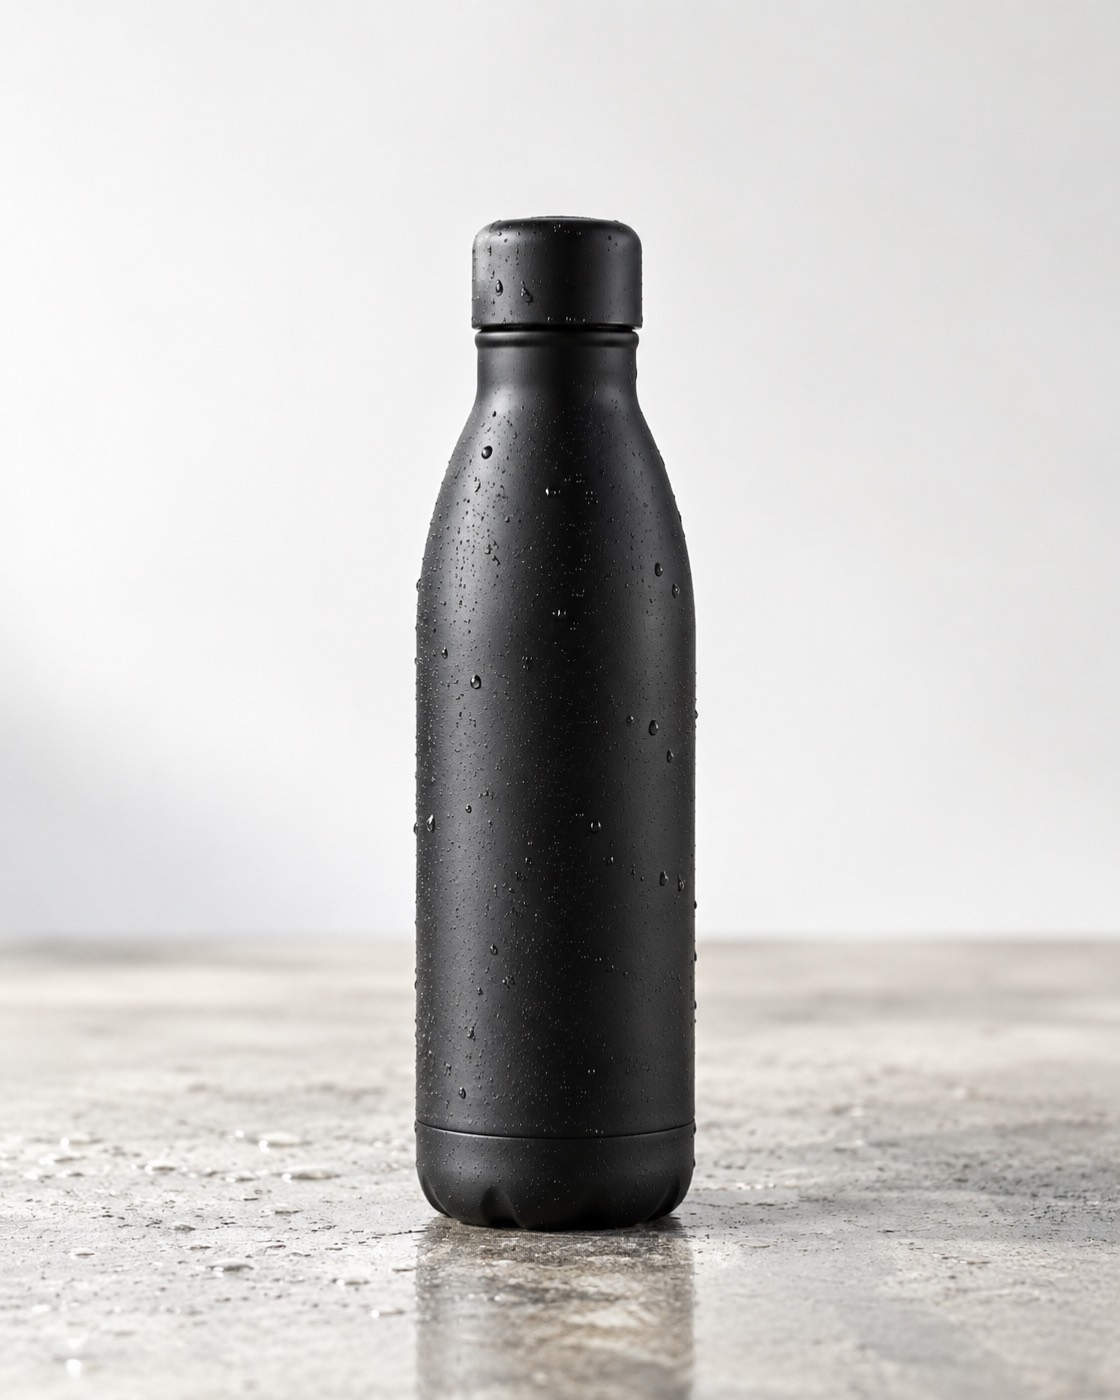
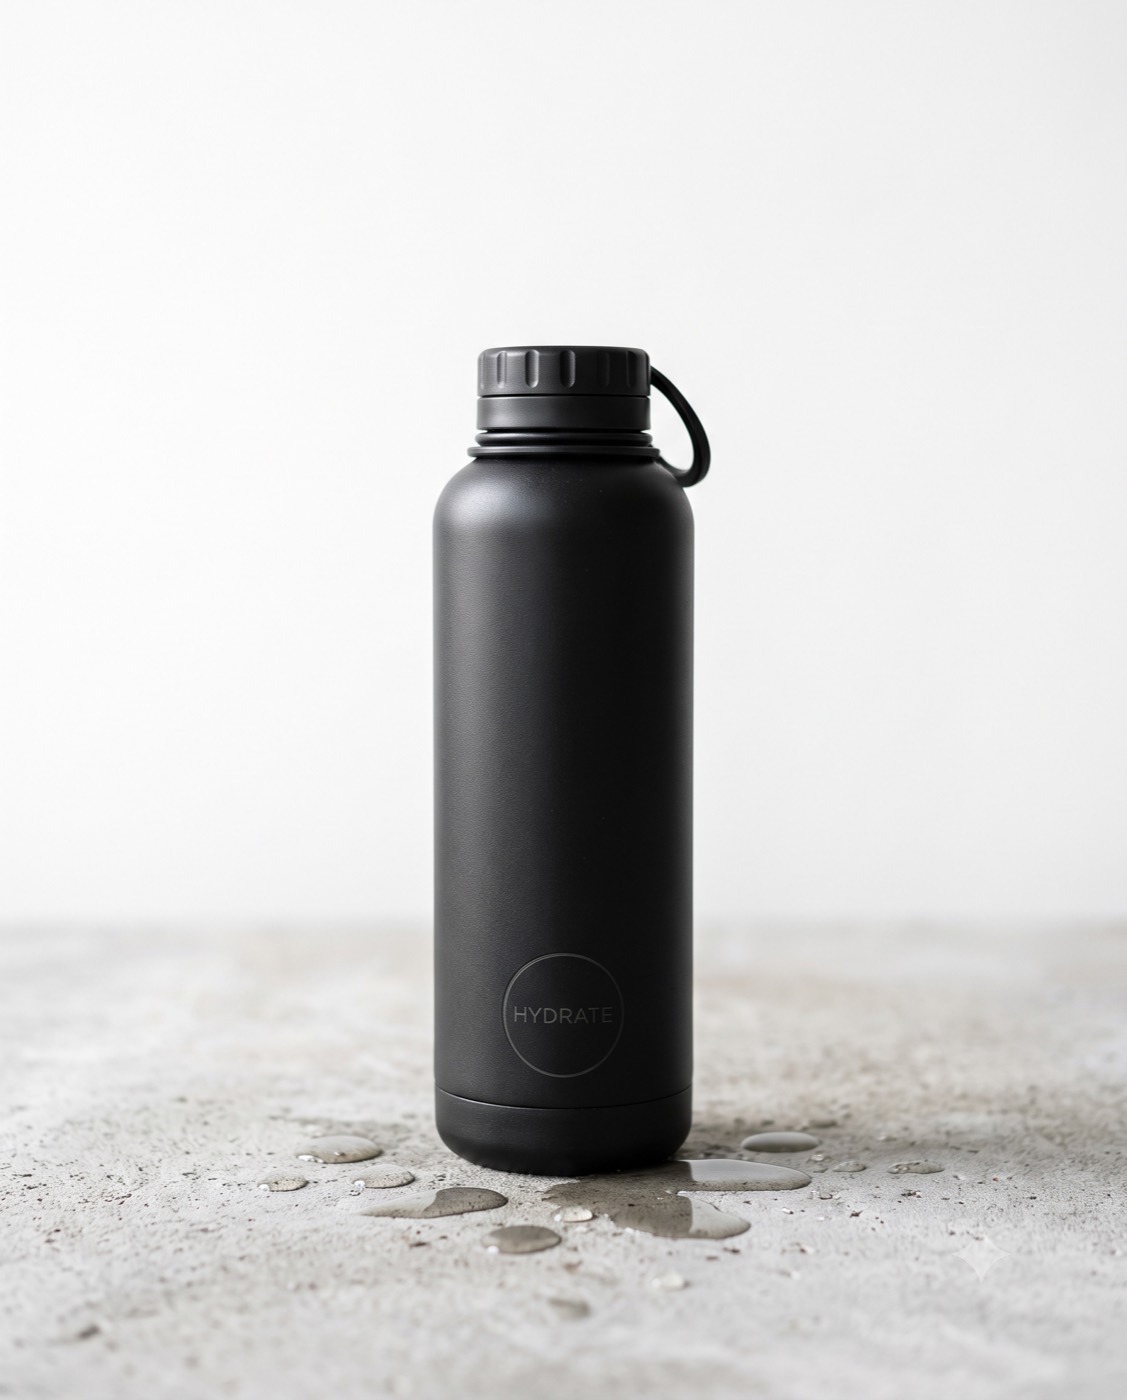
Each prompt below follows the six decisions. Swap the bracketed parts. I've kept them as single paragraphs because that's the form most tools handle best. The same prompt was run in ChatGPT and Gemini, so you can see how two tools answer one brief.
1. Product photo
For a store listing or ad. Realism lives in the lighting.
A matte black stainless steel water bottle standing on a light gray concrete surface, a few water droplets on the surface, soft diffused daylight from the left, subtle reflection, clean minimal background fading to white. Commercial product photography, 100mm macro-style lens, sharp focus on the bottle's logo area, shallow depth of field. 4:5 vertical, plenty of clean space above the product. Avoid: text, extra bottles, fingerprints, harsh shadows.
2. Portrait
For avatars, character references and editorial images.
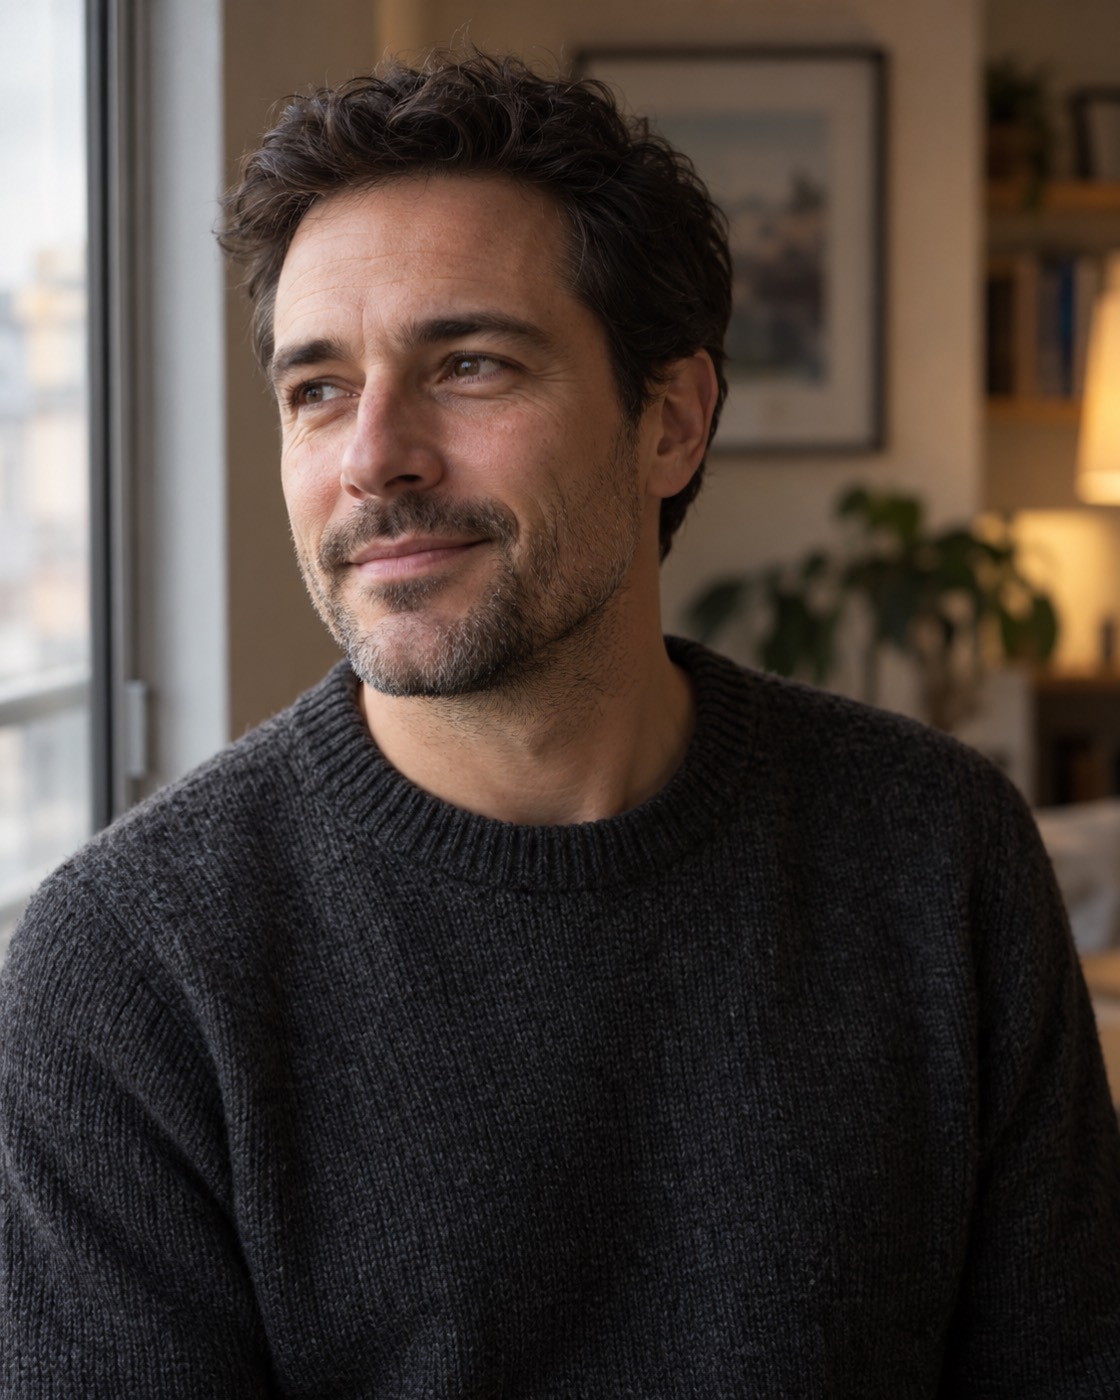
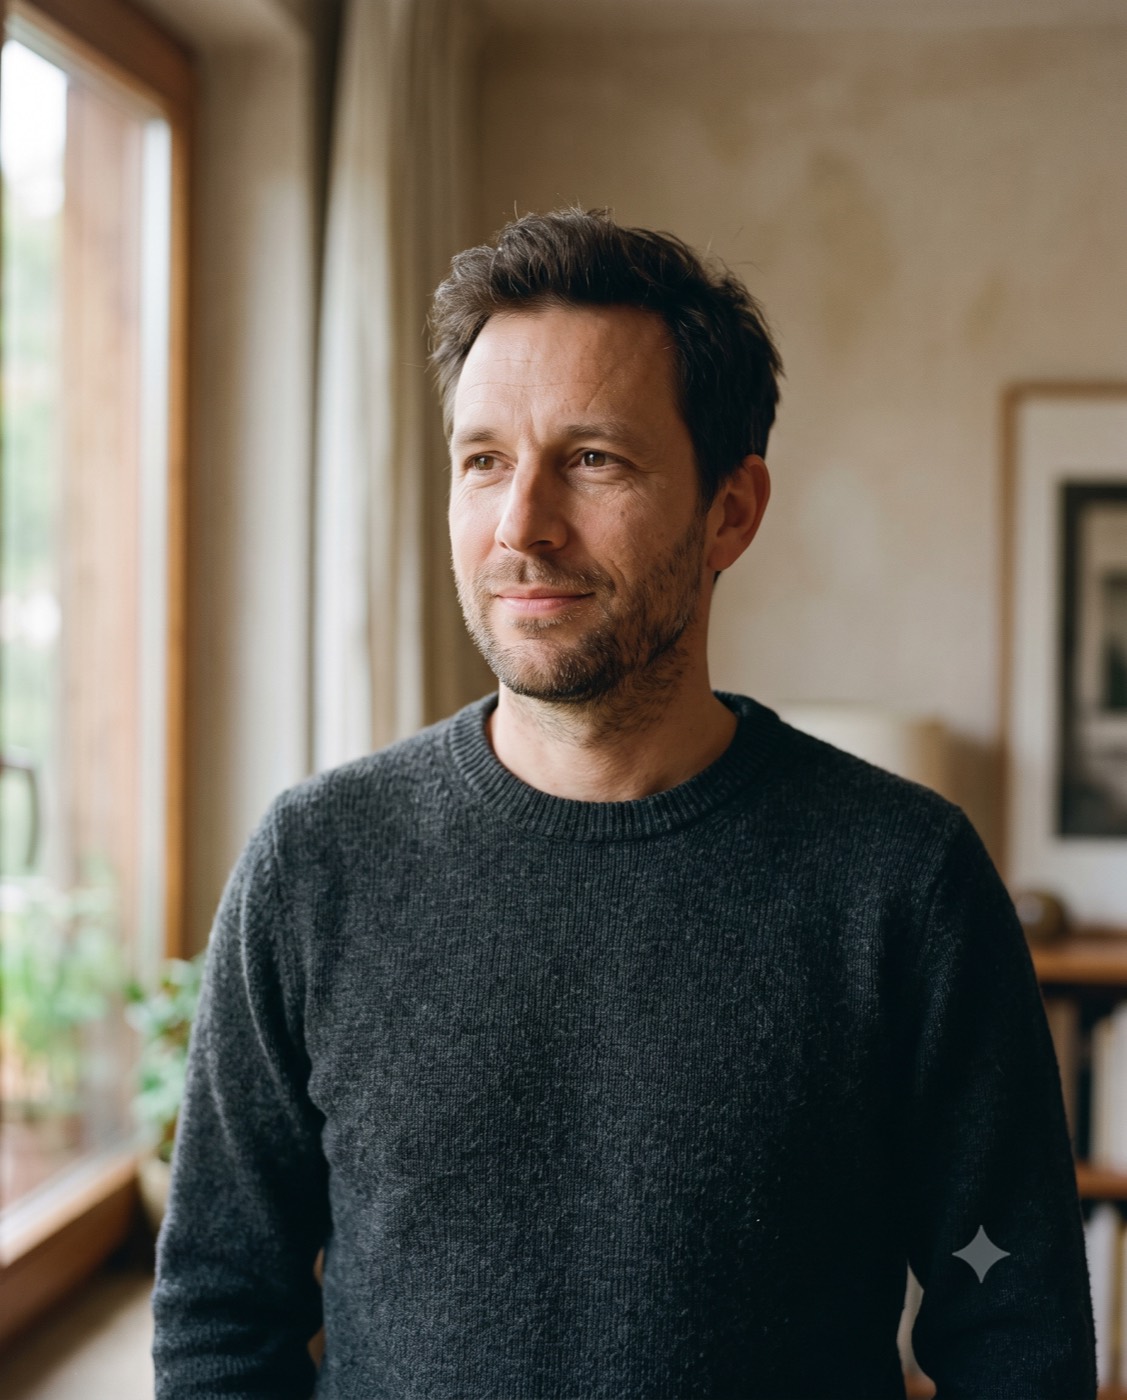
A portrait of a man in his early 40s with short dark hair and a light stubble beard, wearing a charcoal wool sweater, looking slightly off-camera with a calm half-smile, standing near a window in a quiet apartment. Soft side window light, natural skin texture, muted warm tones. Shot on an 85mm lens, f/1.8, shallow depth of field, chest-up framing. 4:5 vertical. Avoid: plastic skin, over-smoothing, extra fingers, text.
3. Blog or website header
The wide format with space for a headline.
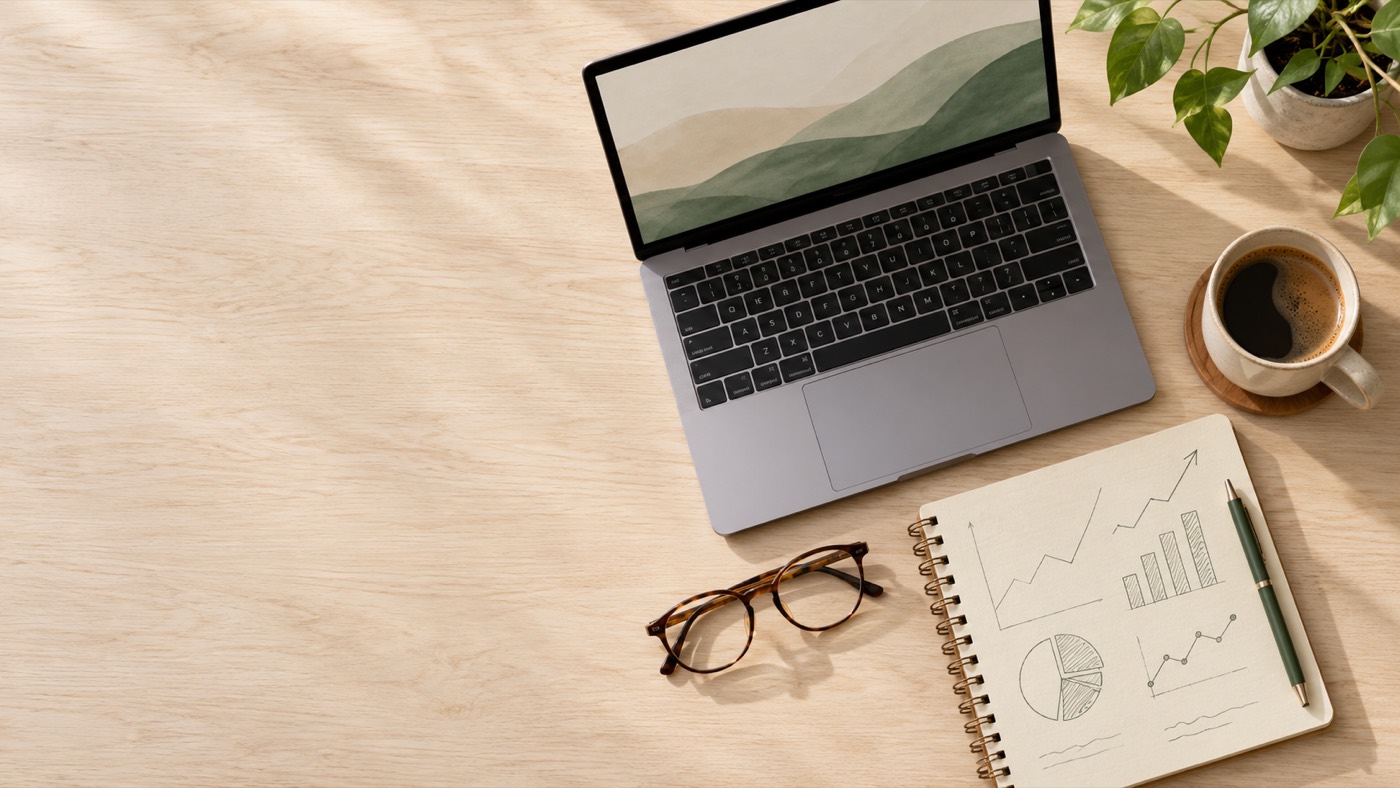
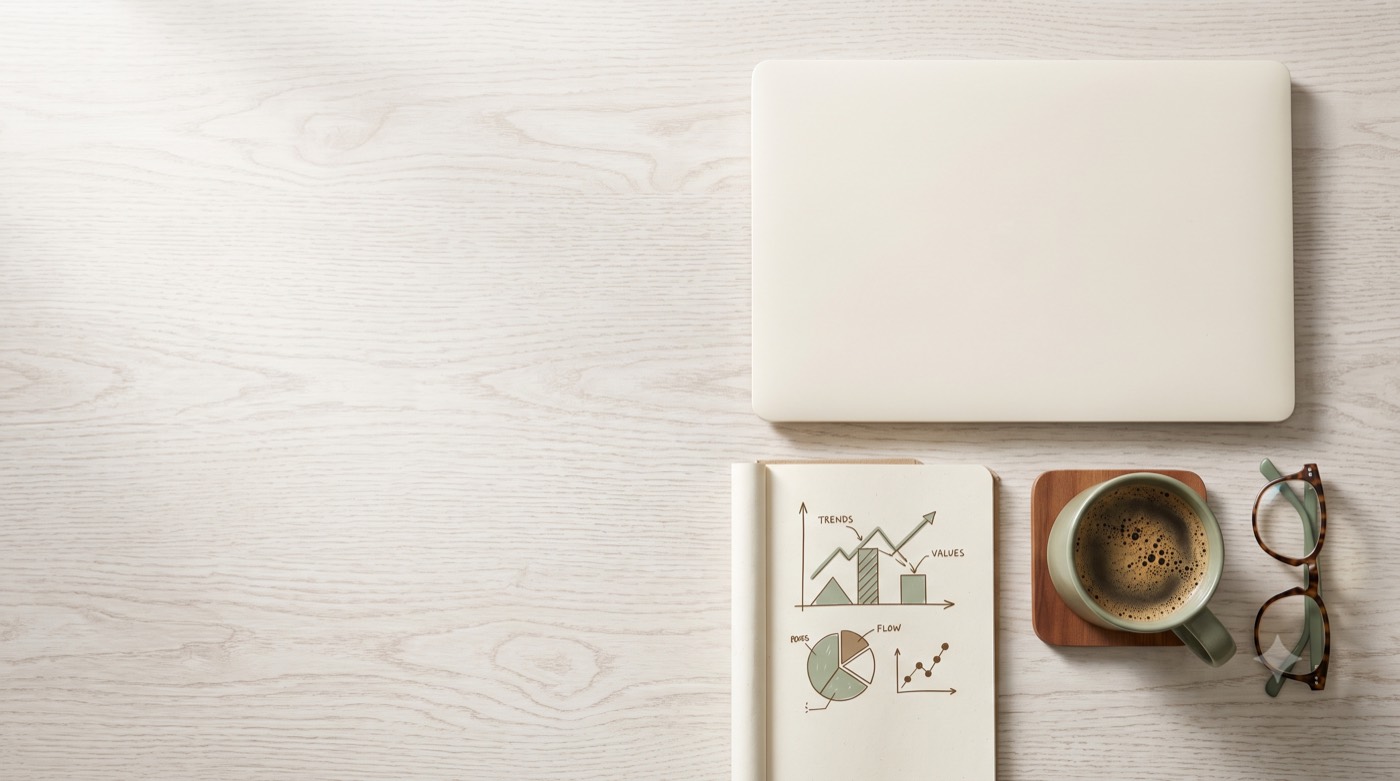
A flat-lay of a laptop, a notebook with a hand-drawn chart, a cup of coffee and a pair of glasses on a pale wooden desk, seen from directly overhead, morning light with soft shadows, calm and organized mood. Clean editorial photography style, muted color palette of cream, sage green and warm brown. 16:9 landscape, with the left third of the frame left mostly empty for text. Avoid: readable text on screens, logos, clutter.
4. Illustration for an article
Pick a medium and commit to it.
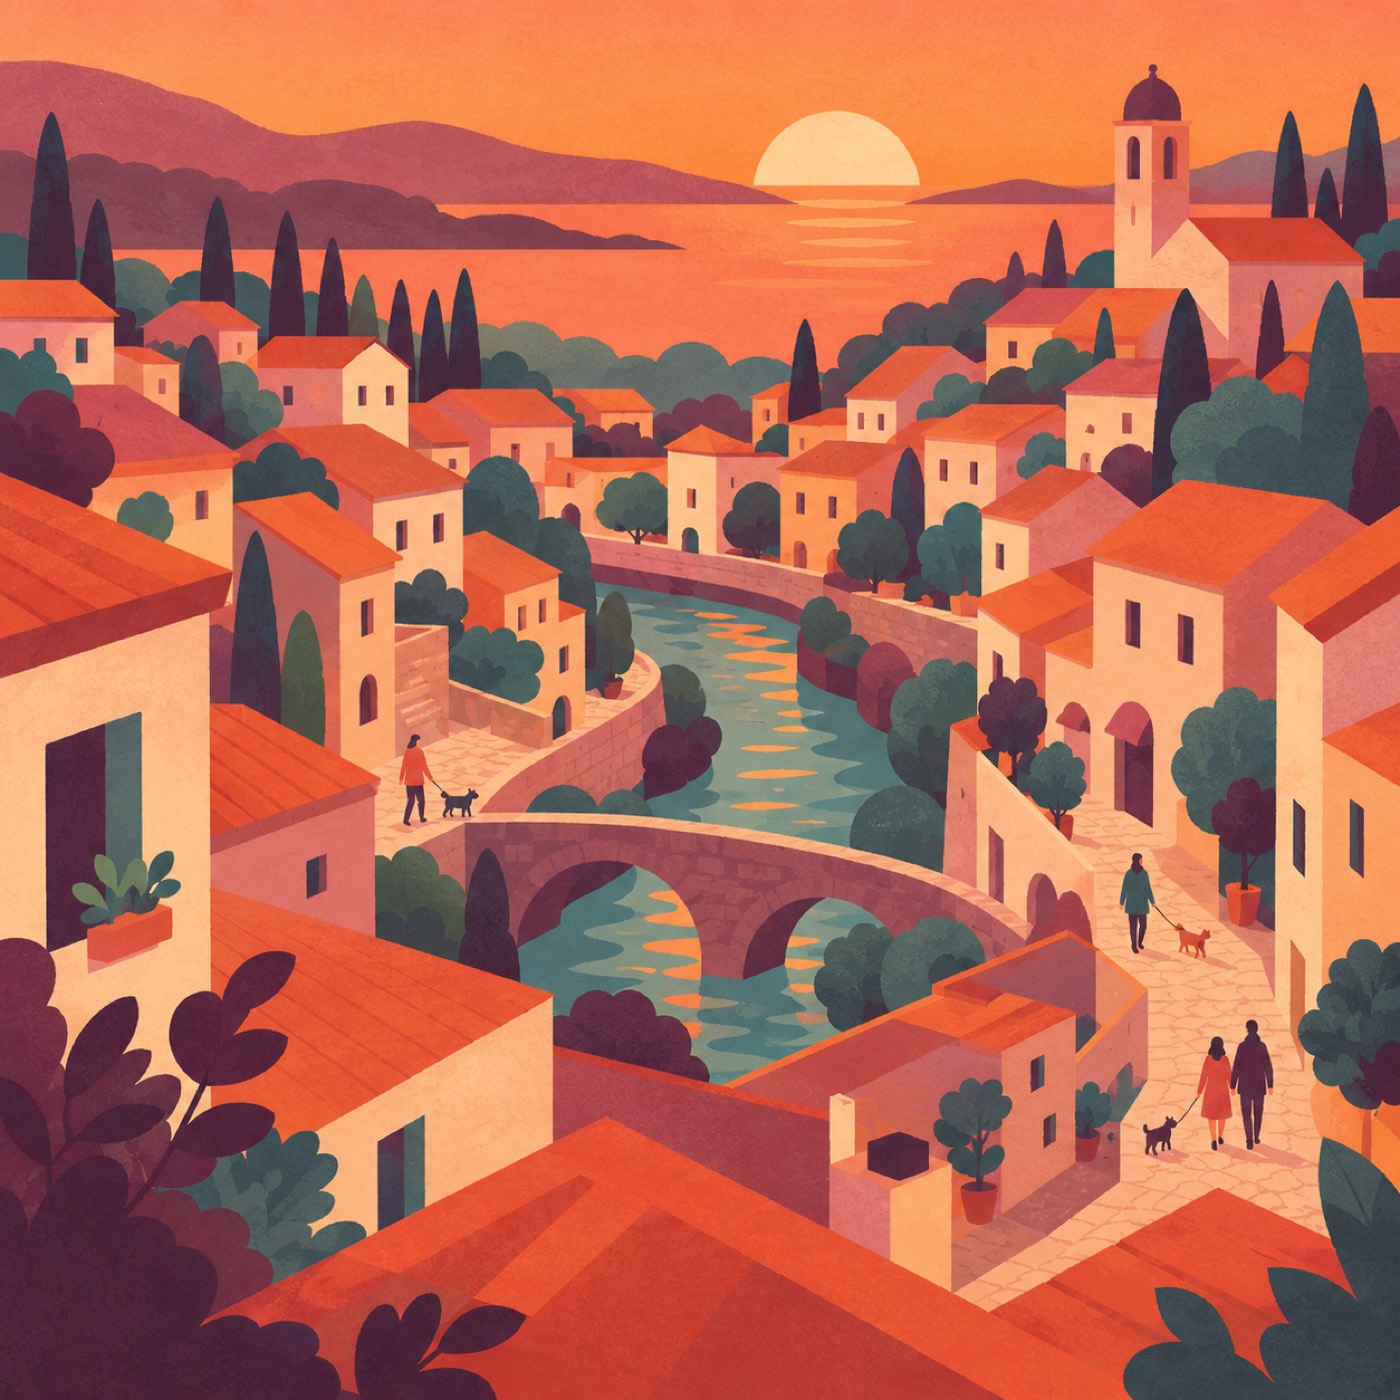
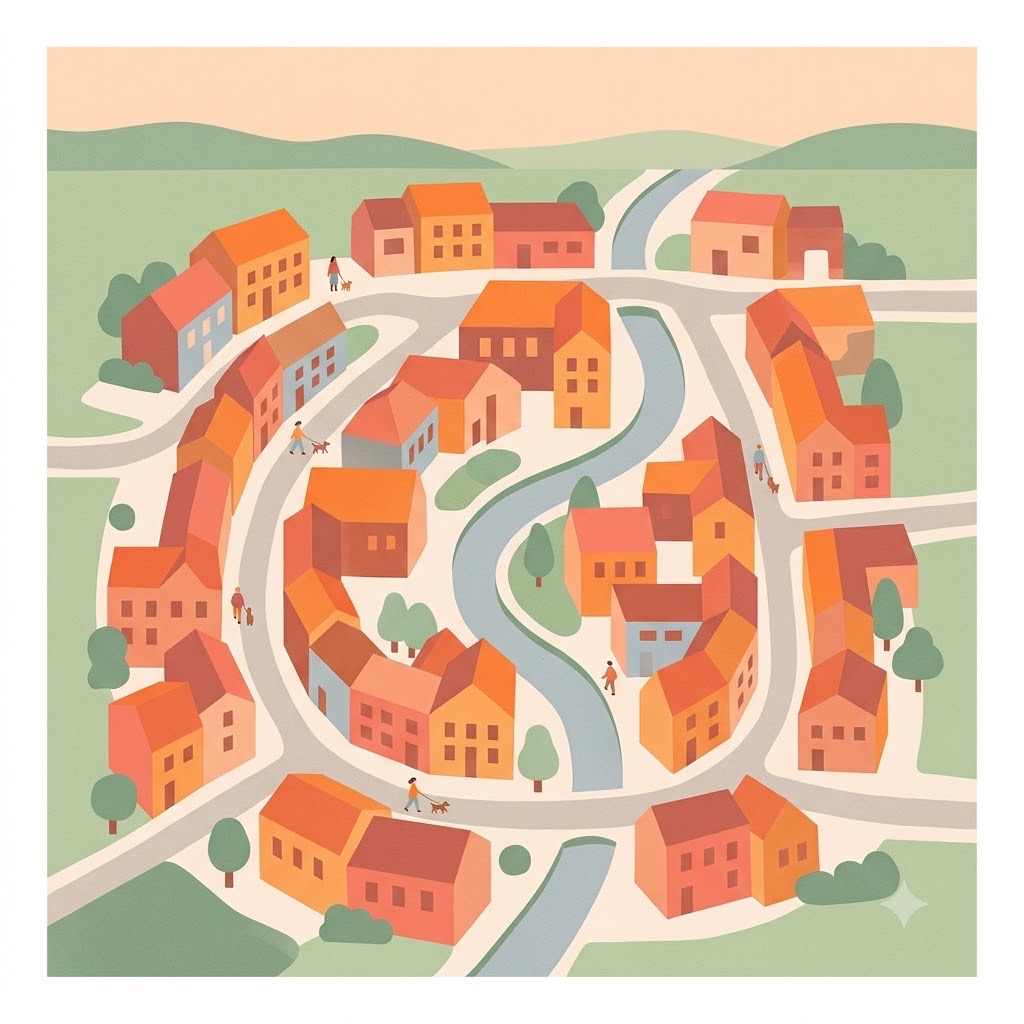
A flat vector illustration of a small town seen from above at sunset, rooftops in warm orange and coral, winding streets, a tiny river curving through the middle, a few people walking tiny dogs. Simple geometric shapes, limited palette of six colors, subtle paper-grain texture, no outlines. Square composition, centered. Avoid: gradients, photorealism, text.
5. Logo or icon concept
Treat this as brainstorming, not a finished brand asset. Image models can be inconsistent with fine shapes, and you'll usually want a designer or vector tool to clean up the winner.
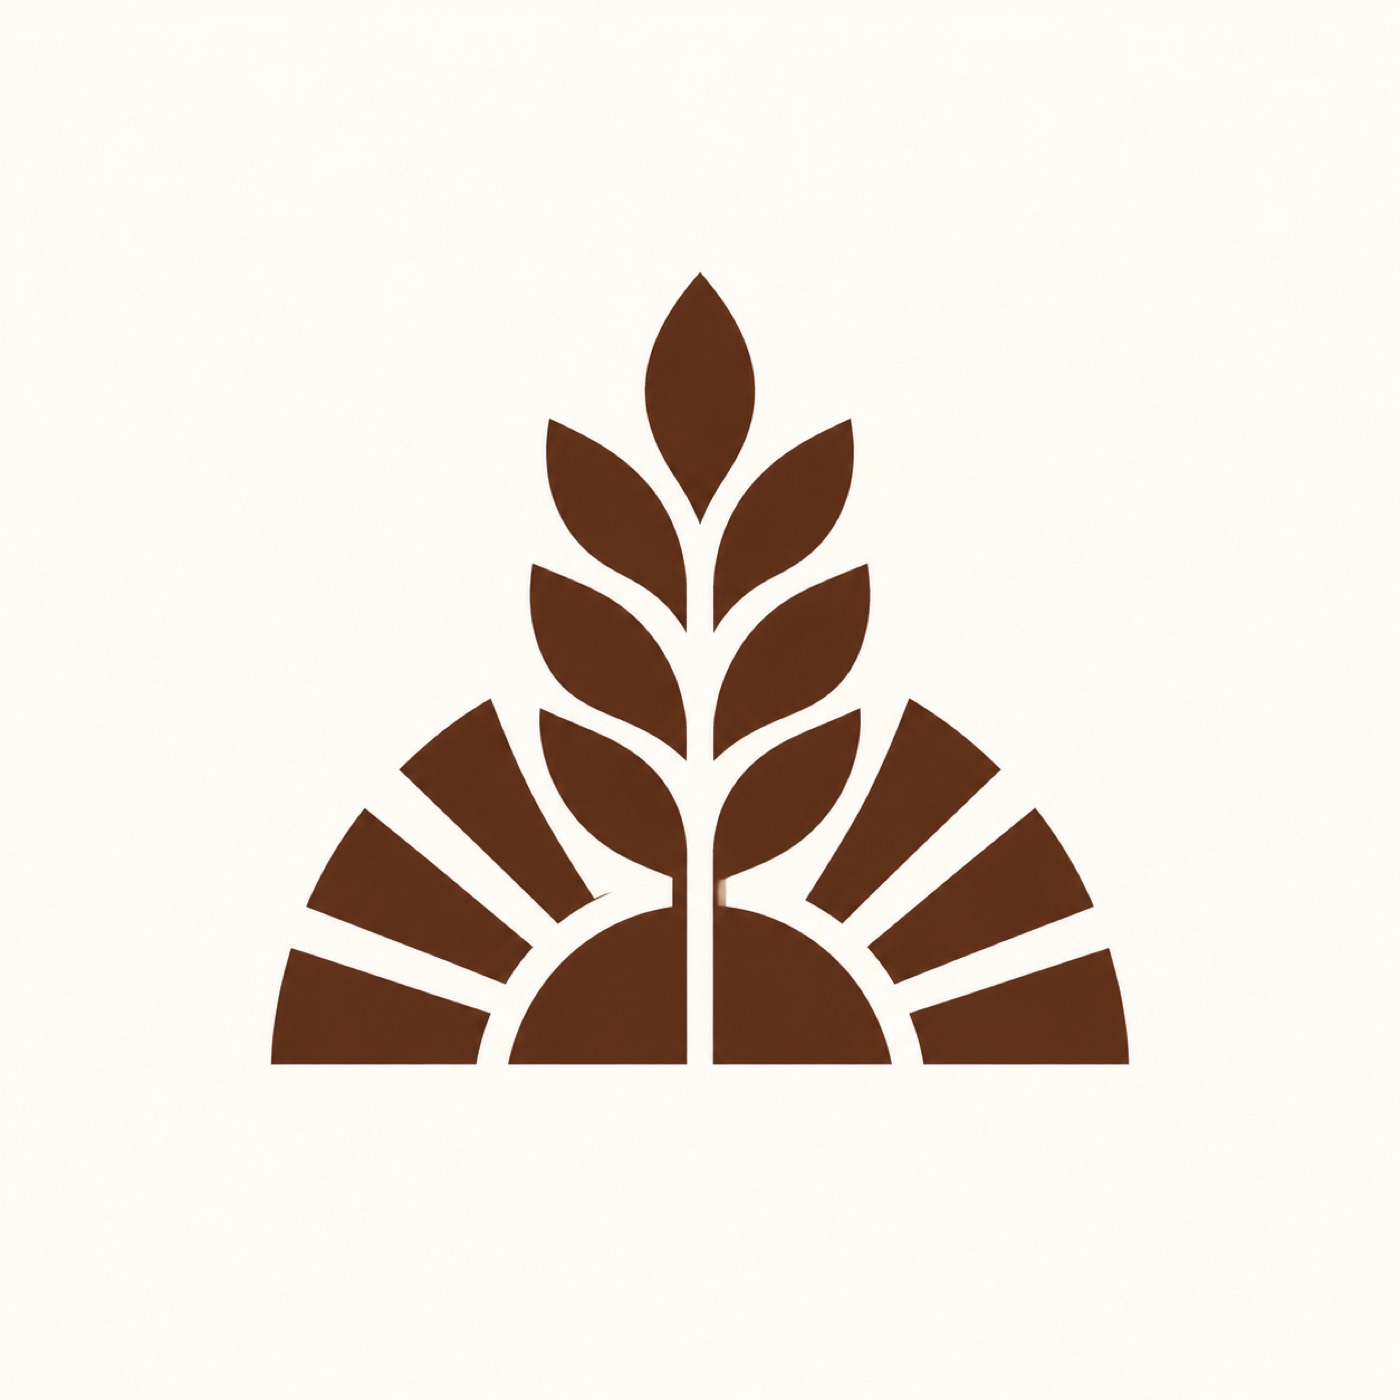
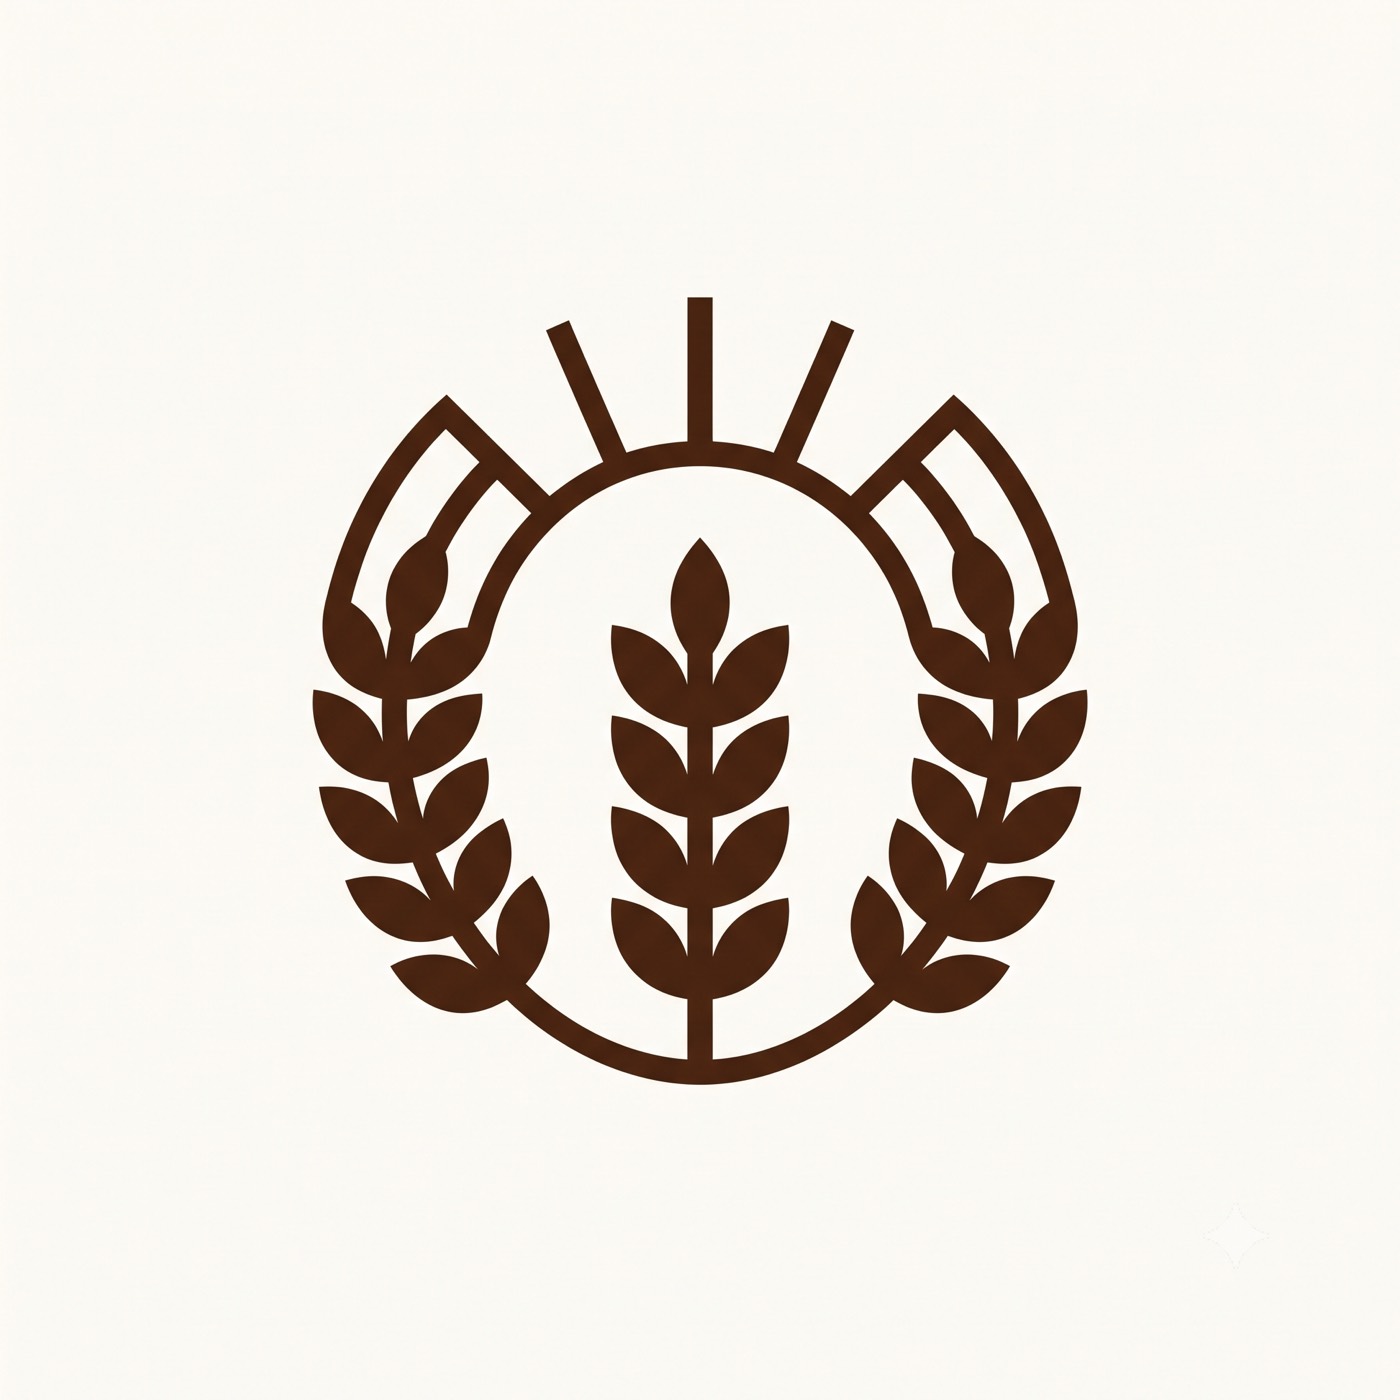
A minimalist logo mark for a bakery called "Rye & Rise", a simple wheat stalk shaped into a rising sun, single color deep brown on a plain off-white background, bold clean lines, balanced and symmetric, flat vector style. Square, centered, lots of padding. Avoid: gradients, shadows, extra decoration, tiny details.
6. Social media post or poster (with text)
Text inside images is where tools differ most. Use a text-strong tool (ChatGPT, Ideogram) and keep the words short.
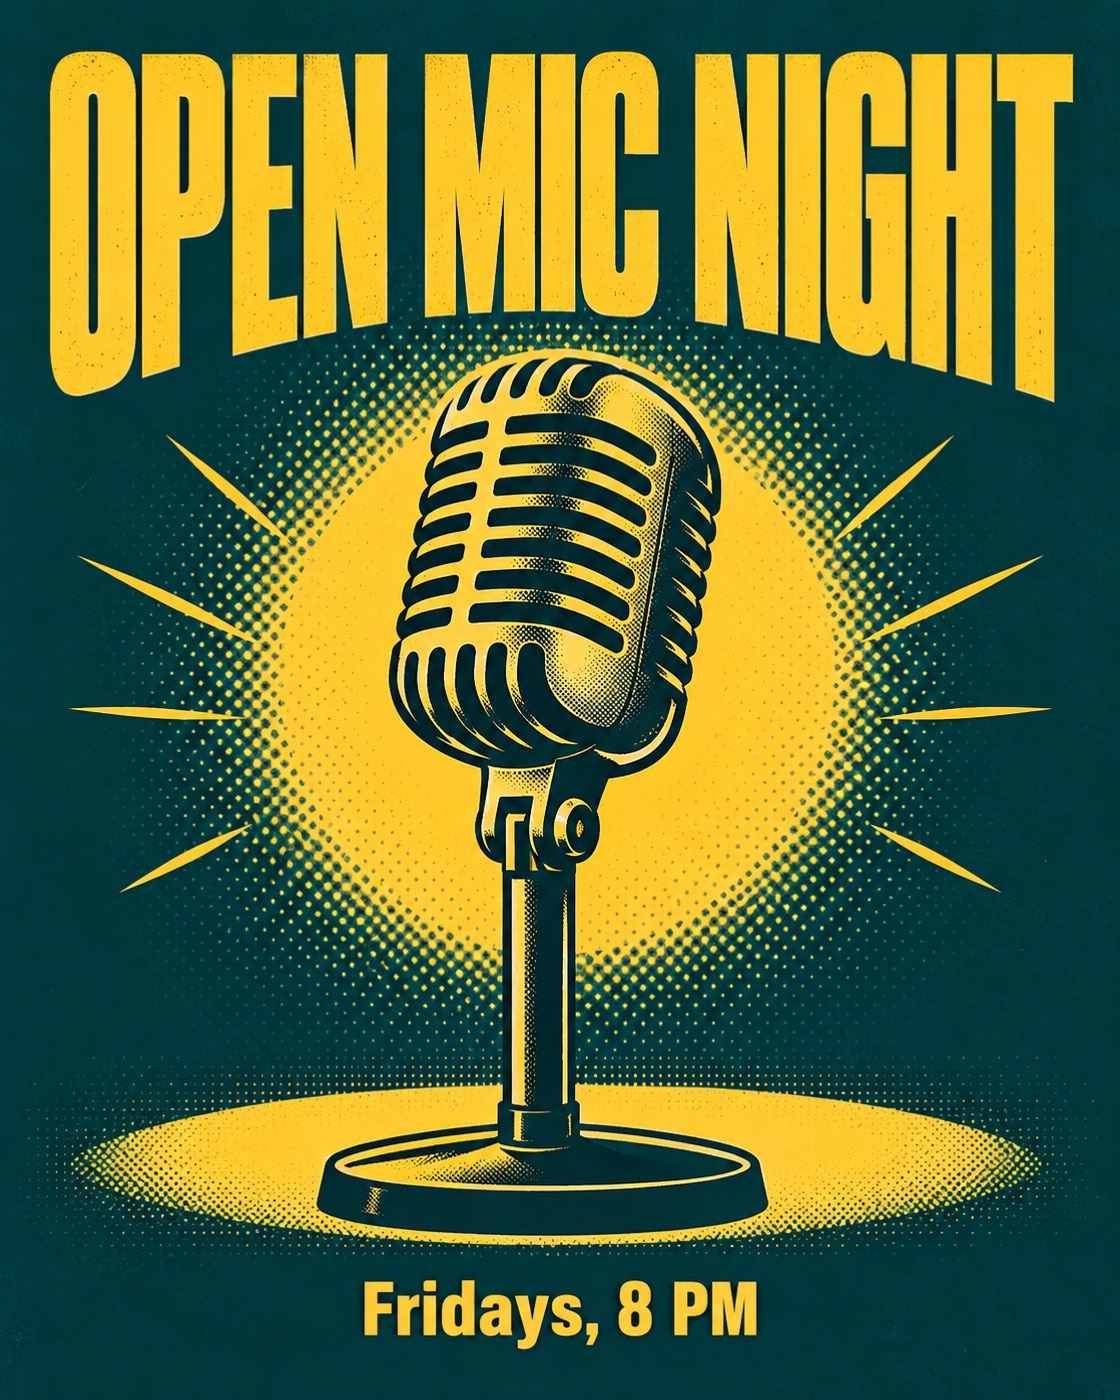
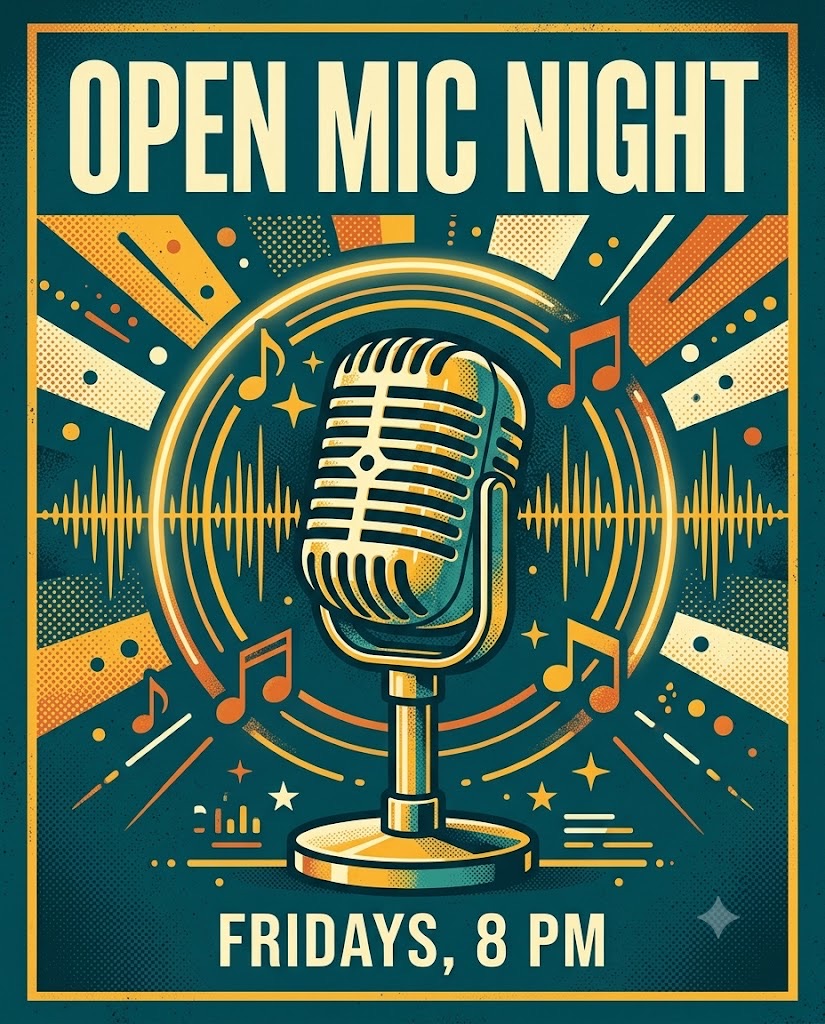
A bold event poster with the headline "OPEN MIC NIGHT" in large condensed sans-serif letters at the top, a retro microphone illustration in the center, background in deep teal with warm yellow accents, subtle halftone texture, small line of text at the bottom reading "Fridays, 8 PM". Flat graphic design style, high contrast. 4:5 vertical. Avoid: misspelled words, extra text, clutter.
What goes wrong: spelling errors. If a word comes out garbled, regenerate or fix the text in Canva or Photoshop afterwards. It's faster than fighting the model.
7. Fantasy or concept art
Where you can go big and cinematic.
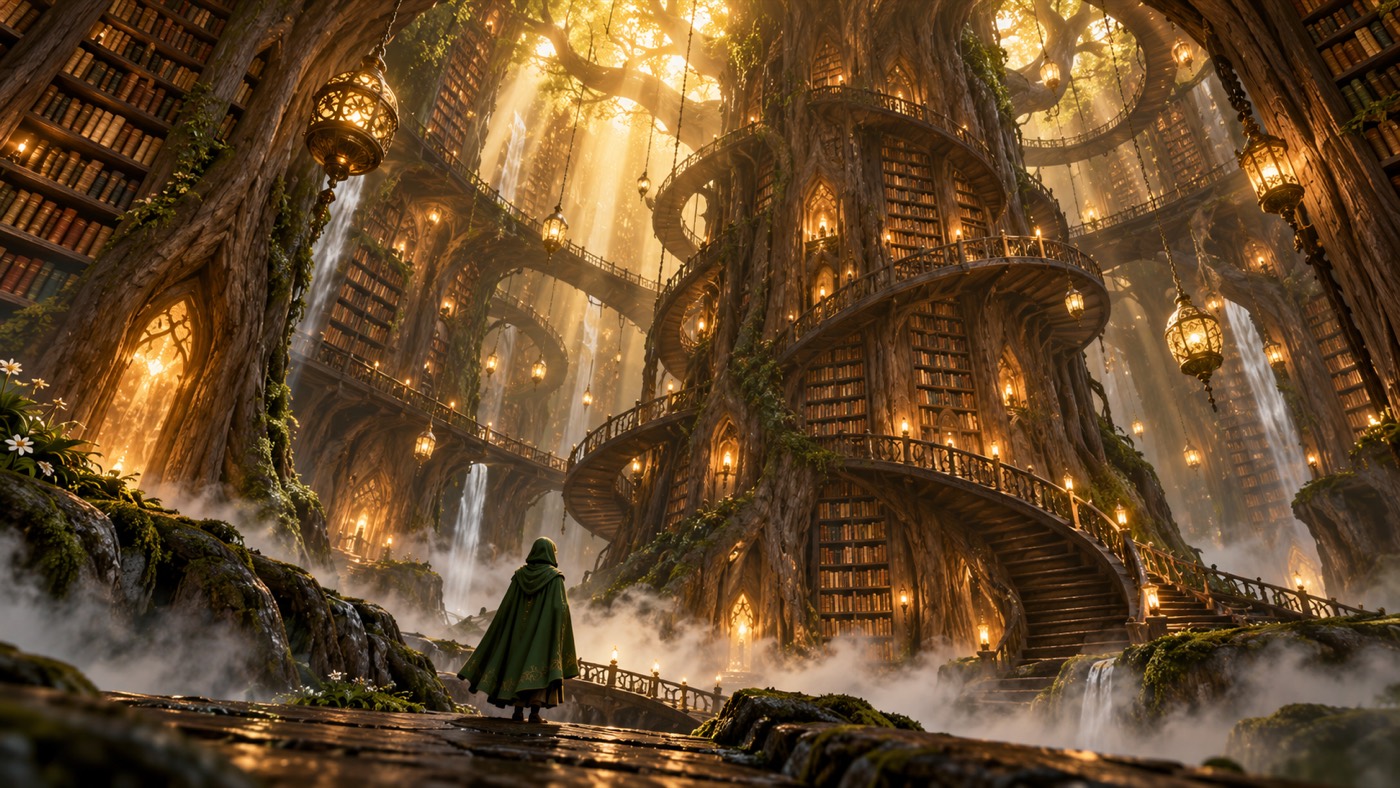
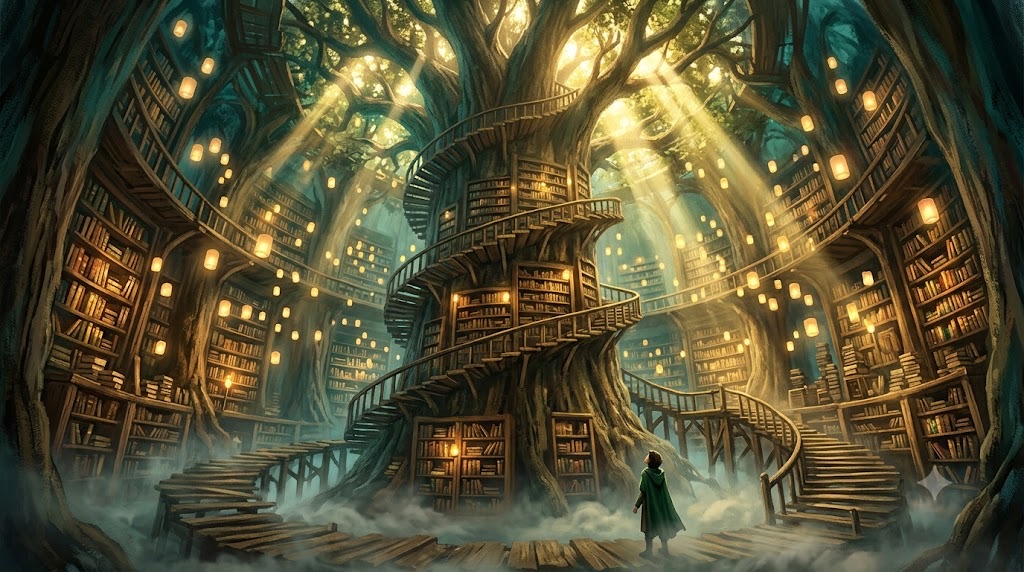
An enormous glowing library built inside a hollow tree, spiral staircases wrapping around the trunk, floating lanterns, a small figure in a green cloak looking up, mist on the floor, golden light shafts from the canopy above. Cinematic concept art, painterly style, rich detail, wide-angle low-angle shot emphasizing scale. 16:9 landscape. Avoid: modern objects, text, oversaturation.
Vocabulary cheat sheet: words that change the picture
You don't need to memorize these. Ask your chat AI for options. But it helps to see how much one phrase moves things.
- Lighting: golden hour, soft window light, overcast, hard flash, rim light, neon, candlelight, studio softbox
- Camera: macro, wide-angle, 35mm street photo, 85mm portrait, overhead flat lay, low angle, aerial
- Style: photorealistic, cinematic, watercolor, flat vector, isometric 3D, pencil sketch, oil painting, anime, risograph print
- Mood: calm, dramatic, nostalgic, playful, moody, minimal
- Quality cues: natural skin texture, crisp focus, film grain, clean edges
One caution: piling on quality words ("ultra detailed, 8K, masterpiece, best quality") used to be a common habit, and modern tools mostly don't need it. Spend those words on a specific lighting setup instead.
Common mistakes (and quick fixes)
Cramming too many ideas into one image. A single prompt asking for a knight, a dragon, a city, a storm and a birthday party will confuse everything. One subject, one setting.
Describing what you don't want in a negative way inside the main text. Saying "no people" in the middle of a sentence sometimes makes people appear. Put exclusions in a separate "Avoid:" line, or use the tool's negative-prompt field if it has one.
Contradicting yourself. "Photorealistic watercolor" or "minimalist and extremely detailed" gives the model two instructions that fight. Pick a lane.
Ignoring the aspect ratio. Say it in the prompt or set it in the tool. Always.
Skipping reference images. Many tools let you upload an image and say "use this style" or "keep this character." If consistency matters (a mascot across ten posts), use it.
A few honest limits
AI images are not magic, and it's better to know that going in.
- Hands, small text and tiny details can still go wrong. Zoom in before you publish.
- Real people and brands. Don't generate images of real individuals without their consent, and check each tool's rules on trademarks and public figures.
- Commercial use. Terms differ by tool and by plan. Read the license before putting an image on a product, an ad or a client project.
- Disclosure. Some platforms and publishers ask you to label AI-made images. Check before you post.
FAQ
What's the best AI image generator for beginners?
Start with the chat assistant you already use. Conversational tools let you say "make it brighter" instead of learning parameters. Move to Midjourney, Firefly or open models once you know what you want and hit a limit.
How long should an AI image prompt be?
Long enough to cover the six decisions: subject, setting, style, lighting, camera and format. In practice that's 50 to 120 words. Past that, extra detail often starts to conflict with itself.
Can I use AI to write my image prompts?
Yes, and it's the method this article recommends. Describe your rough idea to a chat AI, let it ask clarifying questions, then paste the finished prompt into your image tool.
Why do my AI images look generic?
Because the prompt left the decisions to the model, and the model picks the safest average. Add lighting, a specific style and a camera or composition choice, and the sameness goes away.
Can AI images be used commercially?
It depends on the tool and your plan. Read the terms of service for the exact generator, and avoid real people's likenesses and trademarked characters.
Your first image in ten minutes
Pick one idea. Open your chat AI and paste the meta-prompt. Answer its questions. Copy the prompt it writes into an image tool. Change one thing. Run it again.
That loop (idea, detailed prompt, generate, adjust one thing) is the entire craft. Once you've done it twice, you'll stop thinking of AI image tools as slot machines and start treating them like an illustrator who does exactly what the brief says.